Central Stand

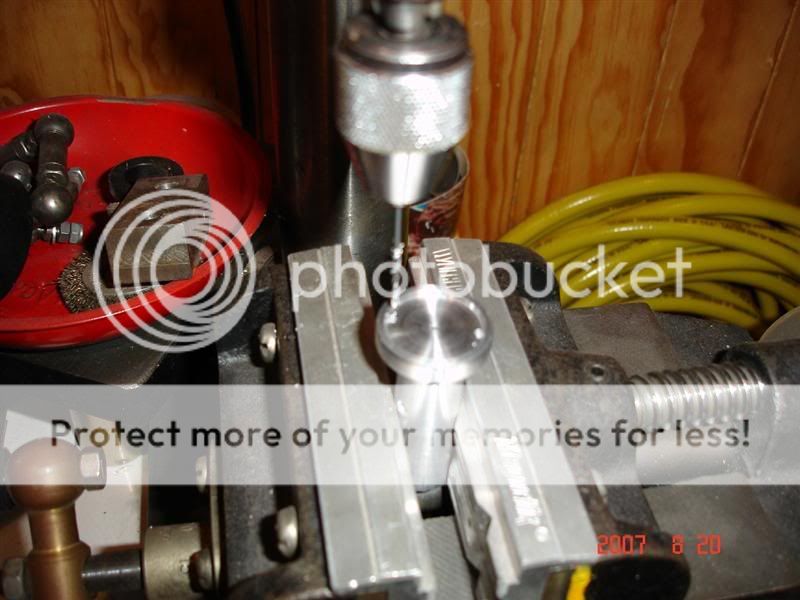
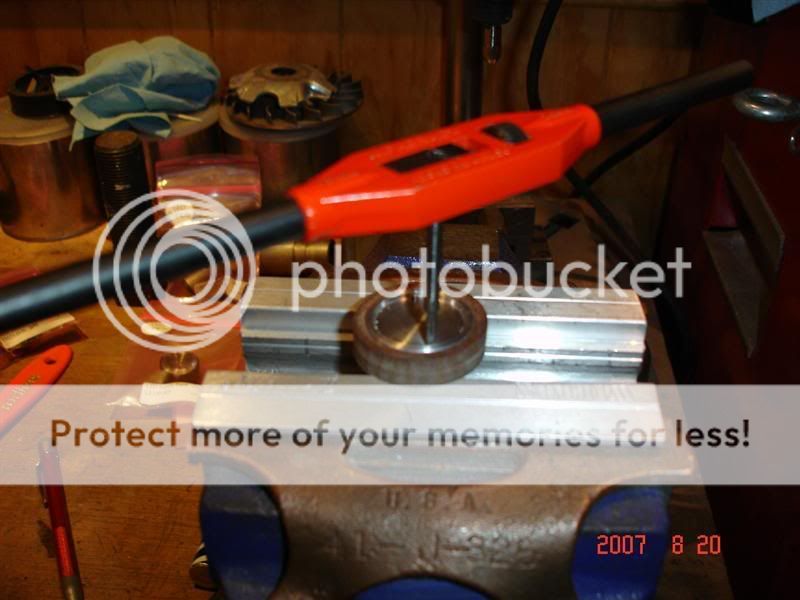
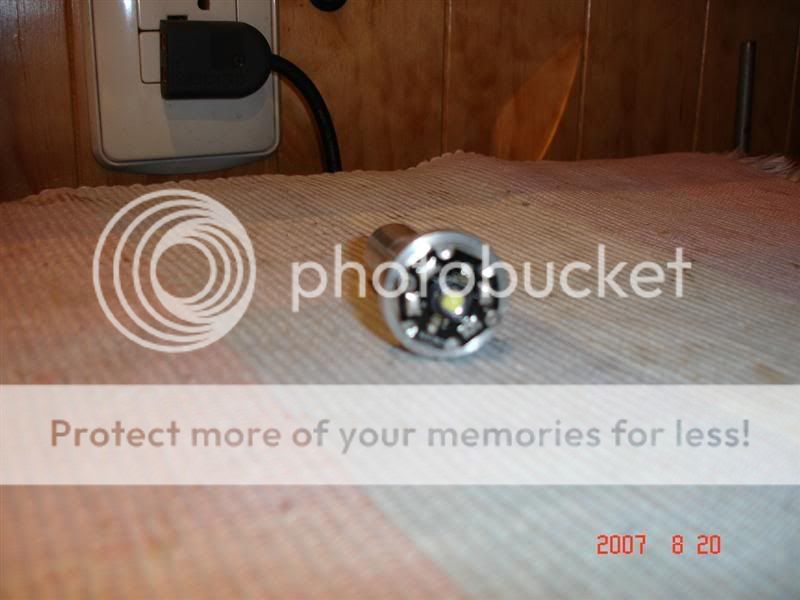
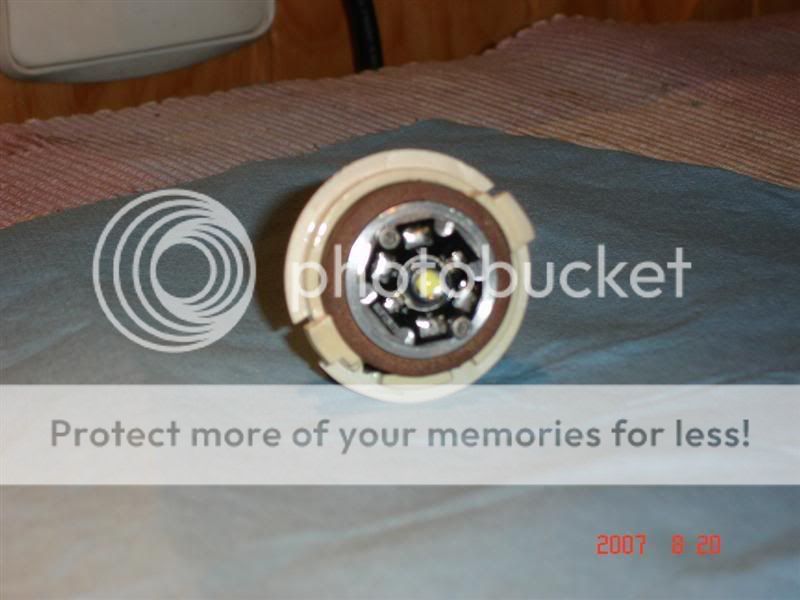
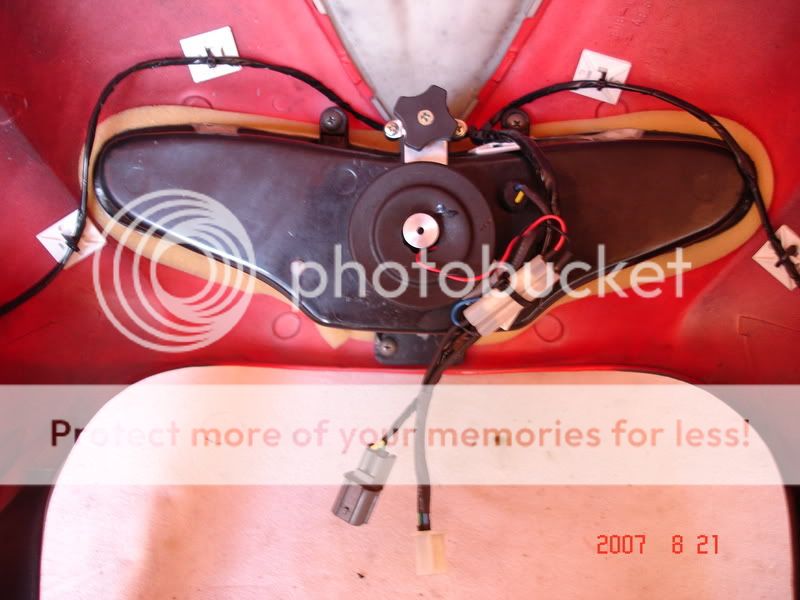
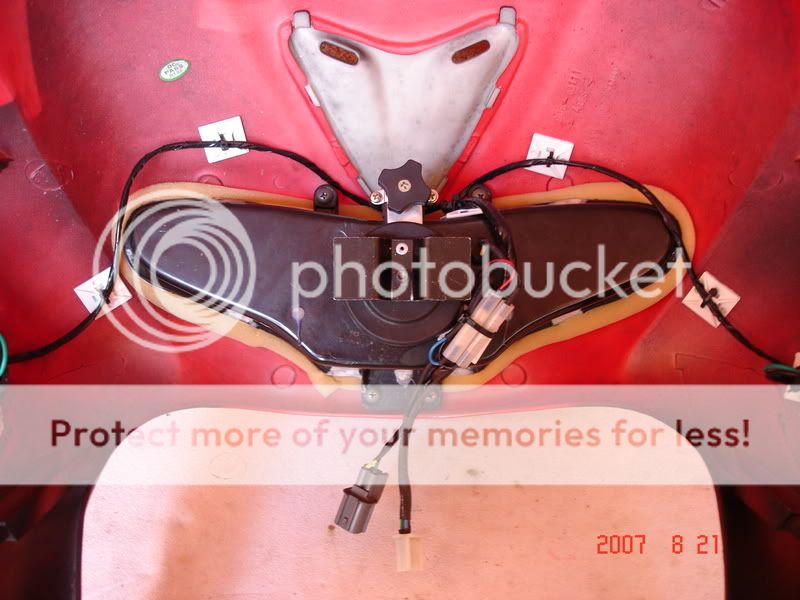
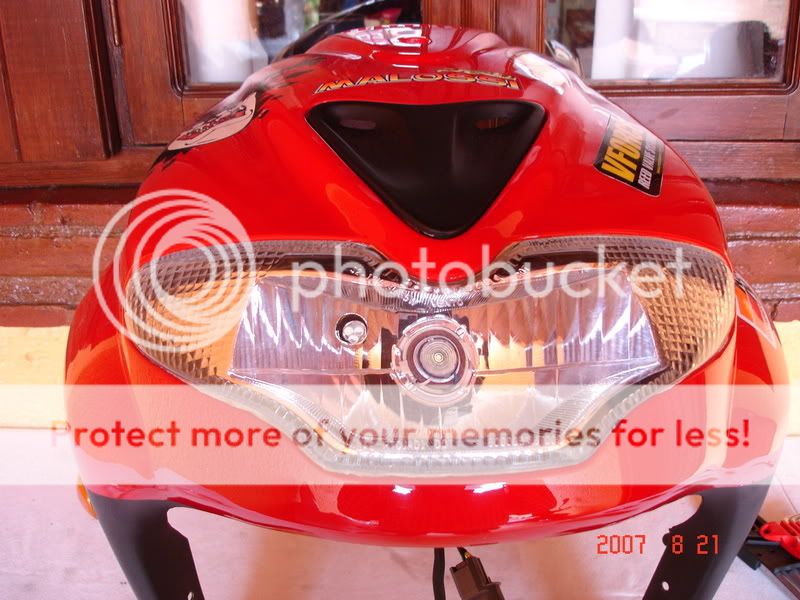
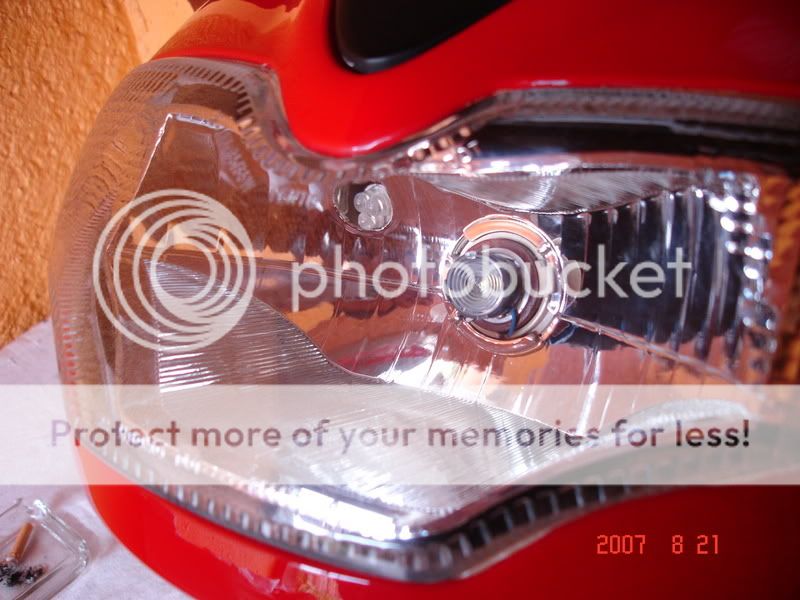
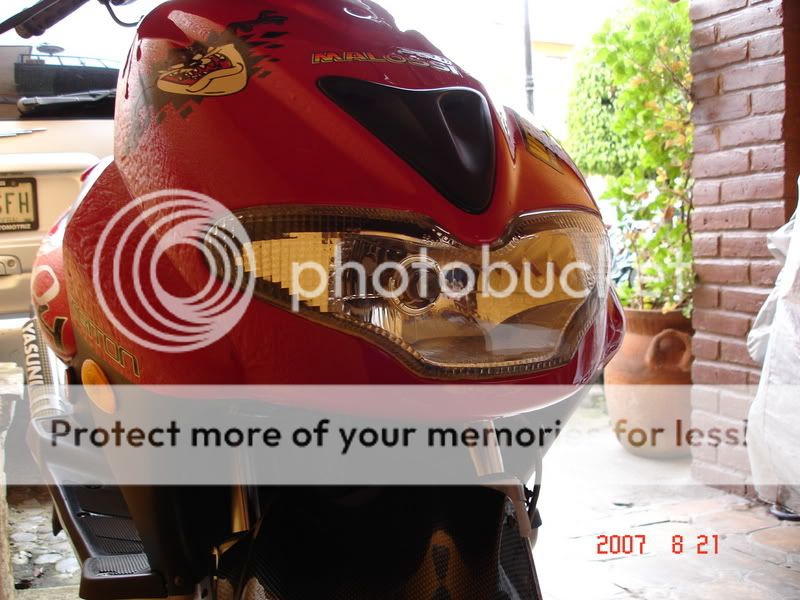
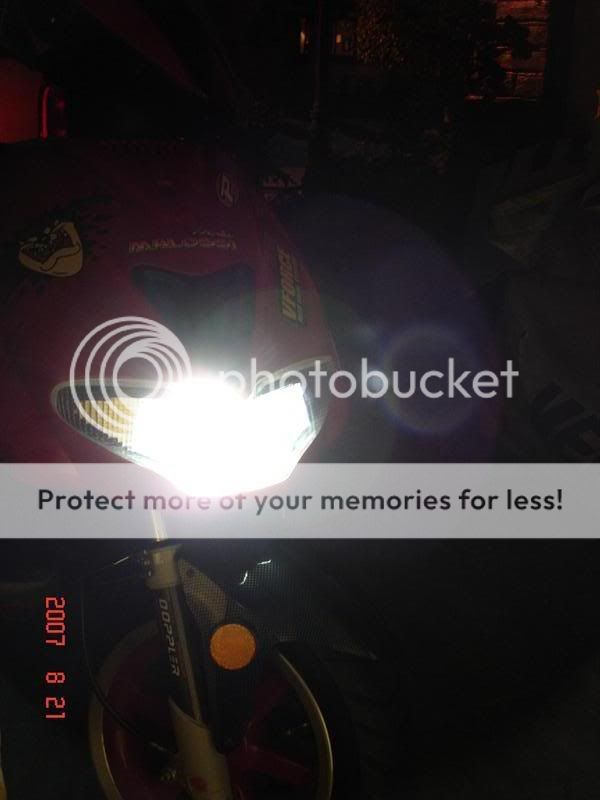
Mi Own LED Head Light

After some extensive search, I guess I got some stuff to built my own High Intensity/Low Current Led Head Light:

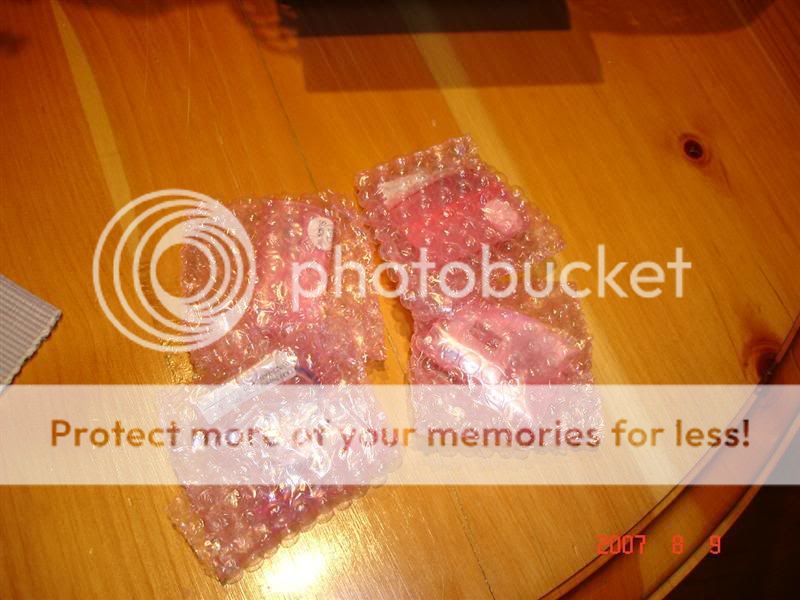
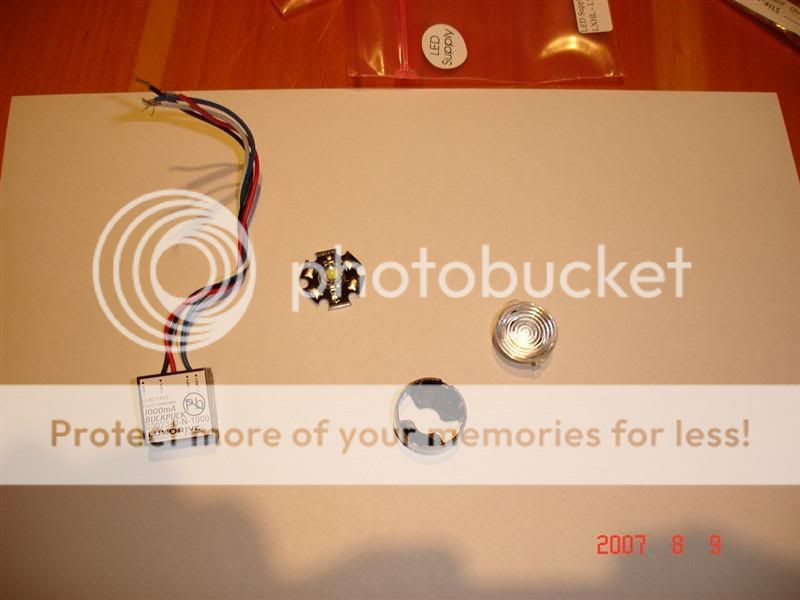
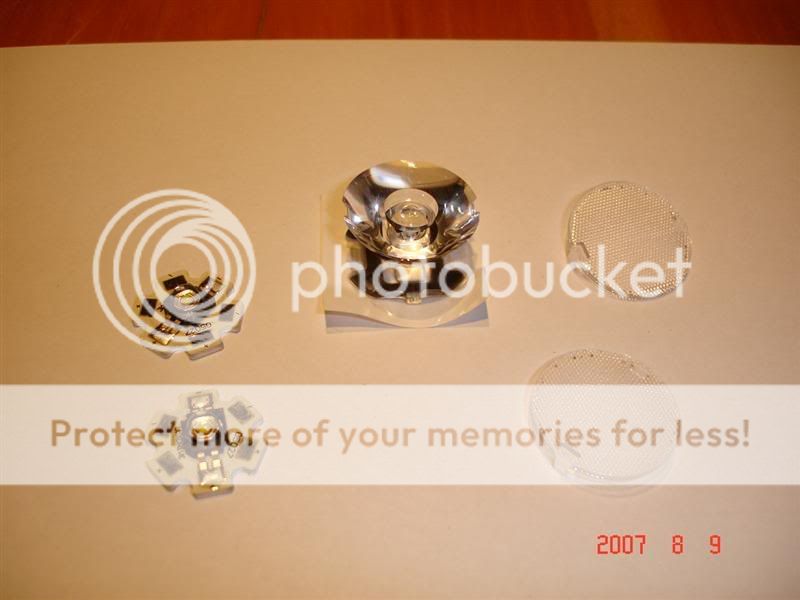
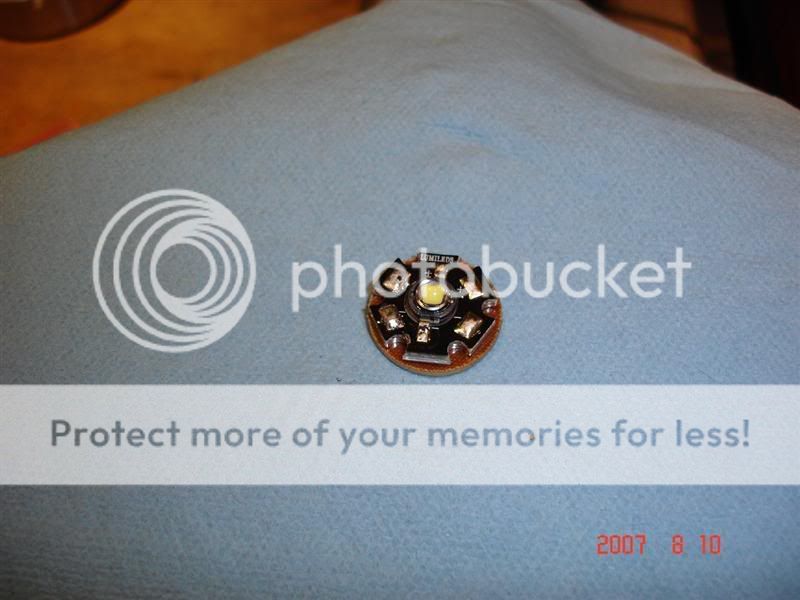
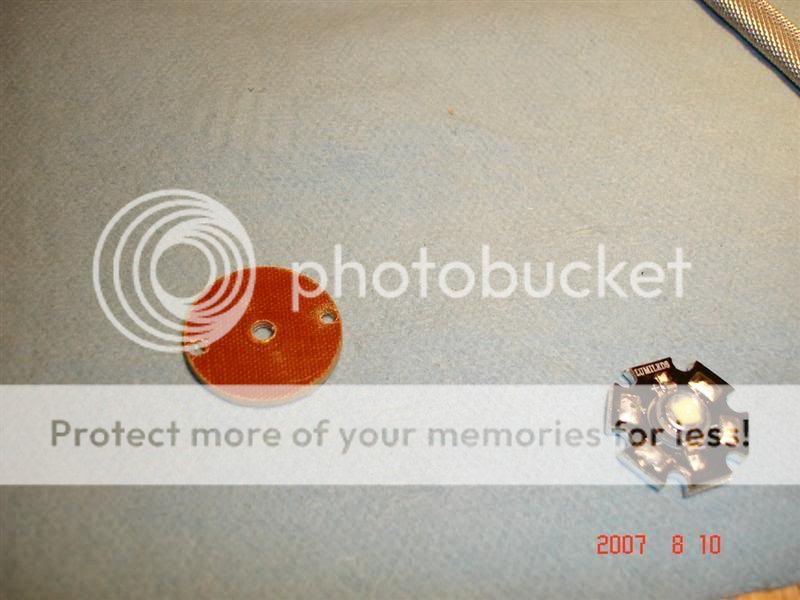
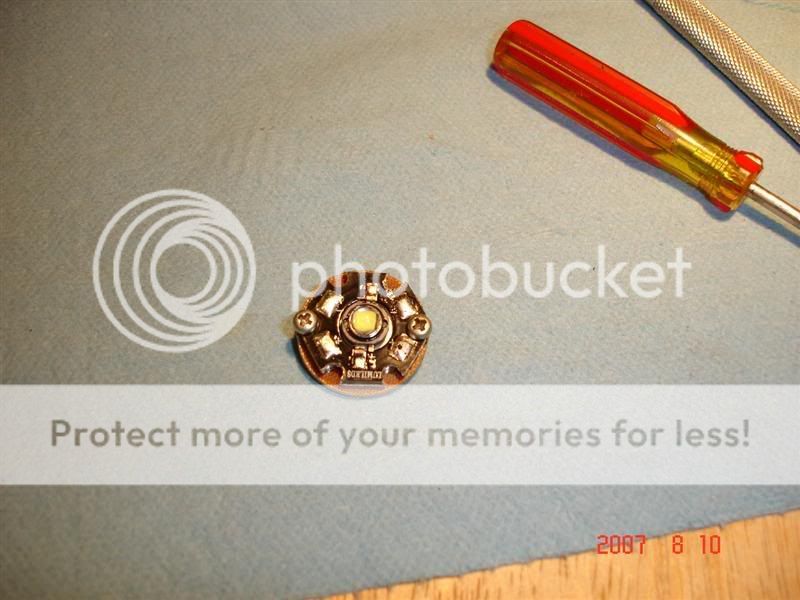
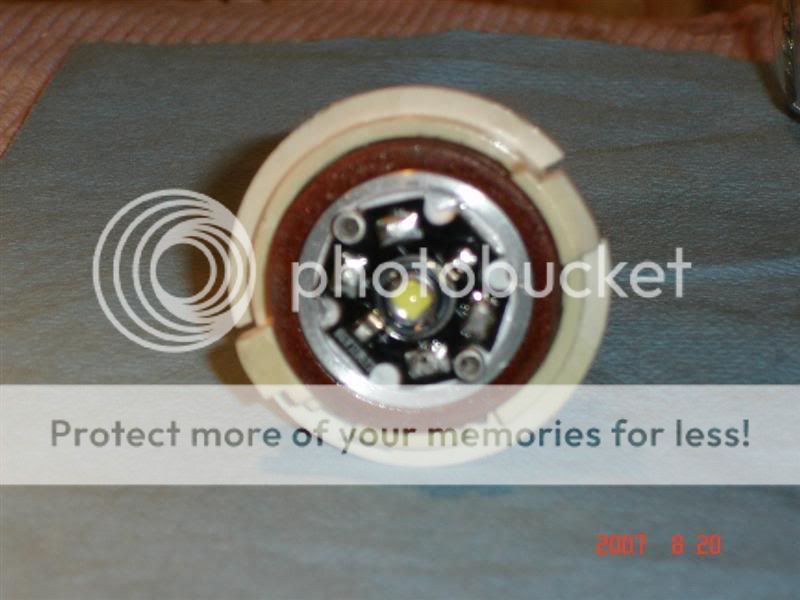
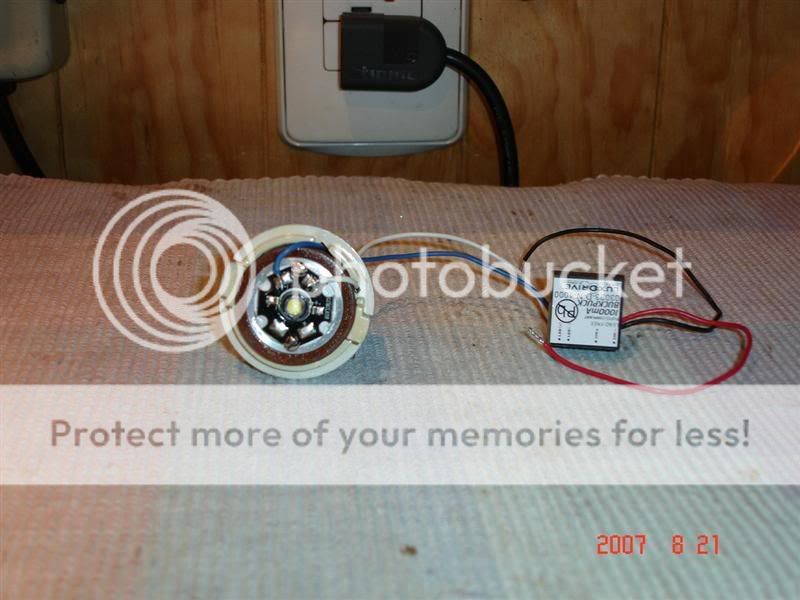
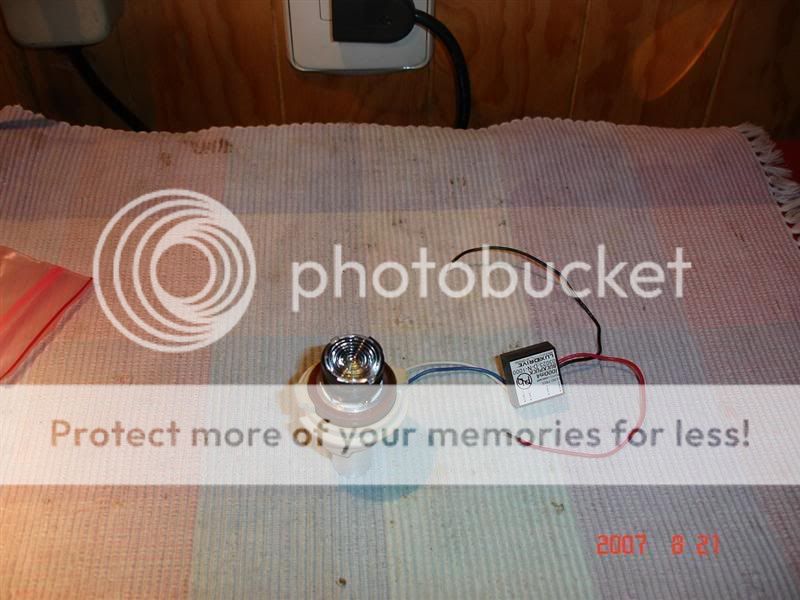
300~500 Lumen Led assembly:
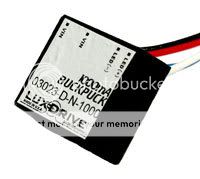
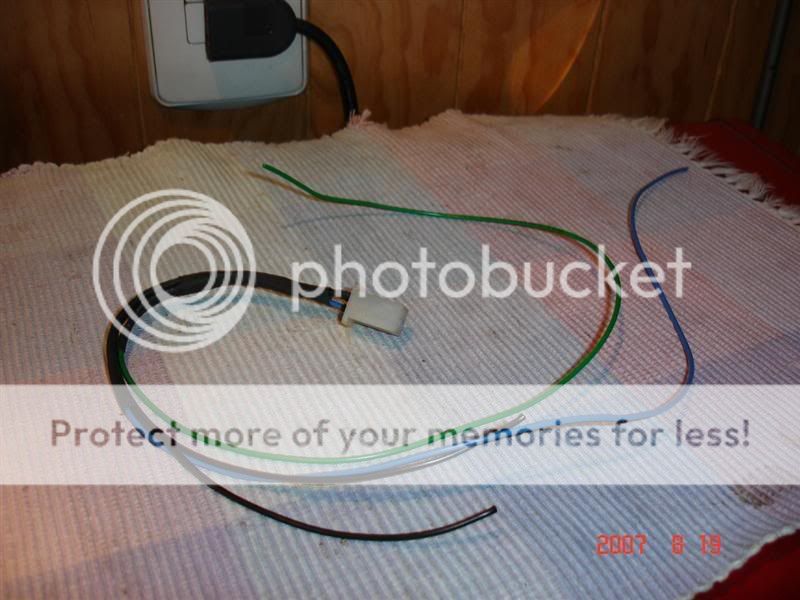
07007-PWC-3_Medium_WM.jpg


Drivers:

03023-D-N-1000_Medium.jpg


There are many other options, take a look at this link:

http://www.ledsupply.com/index.php

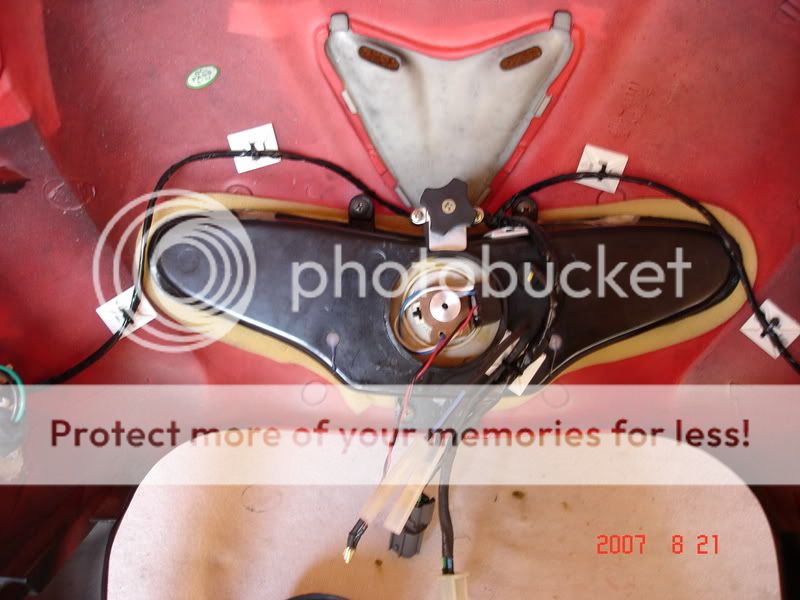
I guess will order some stuff and see how it works!

Enjoy it!
 
Some days later..

After waiting for some 5 days, I got them!!, I was impressed how carefuly those guys packed everything:

DSC02974.jpg


DSC02975-1.jpg


This is the Luxeon V, I choose this one instead of the Endor Star, with its base, driver and reflector, this one is capable of 300 lumen:

DSC02977-1.jpg


I also got these ones, the Luxeon K2, with it's base and reflector, it uses the same driver as the Luxeon V, I got 2 of this leds, just in case...they are not very expensive:

DSC02978-1.jpg


Regards,
 
The day after....

Well, as you all know, I can't be "out of business" for a minute!

I spent some time thinking on how I will install this "star" LED on my head light, finally I got an idea!, I will fabricate an small "base" for my LED, this base would be "inserted" inside the bulb socket, here is the drawing (sorry for a bad drawing in Spanish:


LedIdea.jpg


First I did was to fabricate a "dummy" of the LED:

LEDLight7.jpg


LEDLight8.jpg


Beside the LED:

LEDLight9.jpg


Here you can see the led on the dummy, I will mark it to make two drills, in those drills I will make some threads and bolt the Star LED

LEDLight10.jpg


You can see here the dummy with the new drills:

LEDLight11.jpg


Bolted on::

LEDLight12.jpg


I will fabricate the LED Base with an aluminium 1" diameter rod, the aluminium base will work also as a heat sink, this LED gets hot!!

Will keep posting later
 
Up-Date...

I did a new harness and a base for the heat sink:

The harness:

LEDLight12d.jpg


At the back:

LEDLight12e.jpg


The stock socket:

LEDLight12a.jpg


LEDLight12a2.jpg


The socket without cables:

LEDLight12b.jpg


LEDLight12c.jpg


Here it's how I did the base for the heat sink, using some rod of insulating material:

LEDLight13.jpg


The rod at the lathe:

LEDLight14.jpg


LEDLight16.jpg


LEDLight17.jpg


How it's going?

LEDLight18.jpg
[/QUOTE]

LEDLight19.jpg


Again at the lathe:

LEDLight20.jpg


LEDLight21.jpg
 
More....

Checking tolerances at the socket again:

LEDLight23.jpg


LEDLight24.jpg


Back view:

LEDLight25.jpg


Now, A back cover:

LEDLight26.jpg


Doing adjustments:

LEDLight27.jpg


Cover almost finished, need some fileing:

LEDLight28.jpg


here it is:

LEDLight29.jpg


Another shot:

LEDLight30.jpg


I did two drills for the wires:

LEDLight31.jpg


LEDLight32.jpg


Next step will be the aluminium heat sink.

Regards,
 
Did a drill to hold the insulator in place:

LEDLight33.jpg


LEDLight34.jpg


Did threads:

LEDLight35.jpg


Got the aluminium:

LEDLight36.jpg


Turning the surfaces:

LEDLight37.jpg


Turning the diameter:

LEDLight38.jpg


Checking tolerances:

LEDLight39.jpg


Turning the complete rod :

LEDLight40.jpg


LEDLight41.jpg


Almost done:

LEDLight42.jpg
 
Almost done!

LEDLight43.jpg


LEDLight44.jpg


Done!

LEDLight45.jpg


LEDLight46.jpg


All parts together:

LEDLight47.jpg


LEDLight48.jpg


Doing drill and threads to heat sink section:

LEDLight49.jpg


LEDLight50.jpg


Turning a "box" for the LED:

LEDLight51.jpg


Doing drills and threads for the LED:

LEDLight52.jpg


LEDLight53.jpg


Almost finished:

LEDLight54.jpg


LEDLight55.jpg


LEDLight56.jpg


LEDLight57.jpg


Here you can see I changed the bolts to hold the LED, the driver is connected:

LEDLight58.jpg


The difuser is on:

LEDLight59.jpg
 
Here you can see the first run of this LED:

LEDLight60.jpg


The back side:

LEDLight61.jpg


LEDLight62.jpg


LEDLight65.jpg


LEDLight66.jpg


The exterior heat sink:

LEDLight67.jpg


Some pics from the front:

LEDLight63.jpg


LEDLight64.jpg


LEDLight68.jpg


I'm very happy with how this led works, what do you think?:

LEDLight69.jpg


LEDLight70.jpg


LEDLight71.jpg
 
what was your total cost not including your time?

Mmmm.....Led, driver, diffuser & freights from U.S.A = $67.00 Usd.
Aluminium & phenolic bars and other materials = $35.00 Usd.

I know it is a little expensive, but....importing stuff in to Mexico always is expnsive!!

If you can get the led and driver locally, you will save some $35.00 Usd., if you can get just an small bar of aluminium and phenolic, not the complete bar like I had to do...you will save more money......

Regards,
 
Custom Chrome Body Parts

Mexicano>>>I have to admit, you are the man 9||6. I have been in the scooter business for 5 plus years and you do nice work. I put together a website called: scooterchromeparts.com, it has been online since November of 2007 and is growing pretty quick in popularity. I have custom chrome body parts for 125cc, 150cc Vento (Phantom) Styles and other similar body styles. Maybe you can use some of these parts in the future, or may know someone that can use them. I pretty much have every body part you can imagine. Well, hope you like my website: www.scooterchromeparts.com :W

Please past on the good word, thx

DSC00052.jpg


DSC00053-1.jpg


DSC00055-1.jpg


Then I got some square frame:

DSC00056.jpg


I did a "notch" to insert the upper part:

DSC00059-1.jpg


DSC00061.jpg


DSC00062-1.jpg


DSC00063-1.jpg


DSC00064.jpg


I'll weld the highlighted parts:

DSC00065.jpg


Cut a small plug for it:

DSC00066.jpg


The upper part is welded now:

DSC01529.jpg


DSC01530.jpg


DSC01531.jpg


DSC01532.jpg


DSC01534.jpg


DSC01535.jpg
[/quote]
 
Dear Customscooters,

What you are doing is not the purpose of this forum. What you are doing is called SPAM.

Also don't dig up old topics if you don't have something usefull to add.
 
Back
Top