Killerteam Racing - Fiberglass Sr

butch-182

Killerteam Racing
S7005321-2.jpg


Hello, I would like to introduce my project.

My intention is to build a super light sr track bike. I started the project a few weeks back, many ideas were thought over for a light weight, yet still optical friendly bike. I will race the bike here in spain - Jerez & cordoba hopefully.


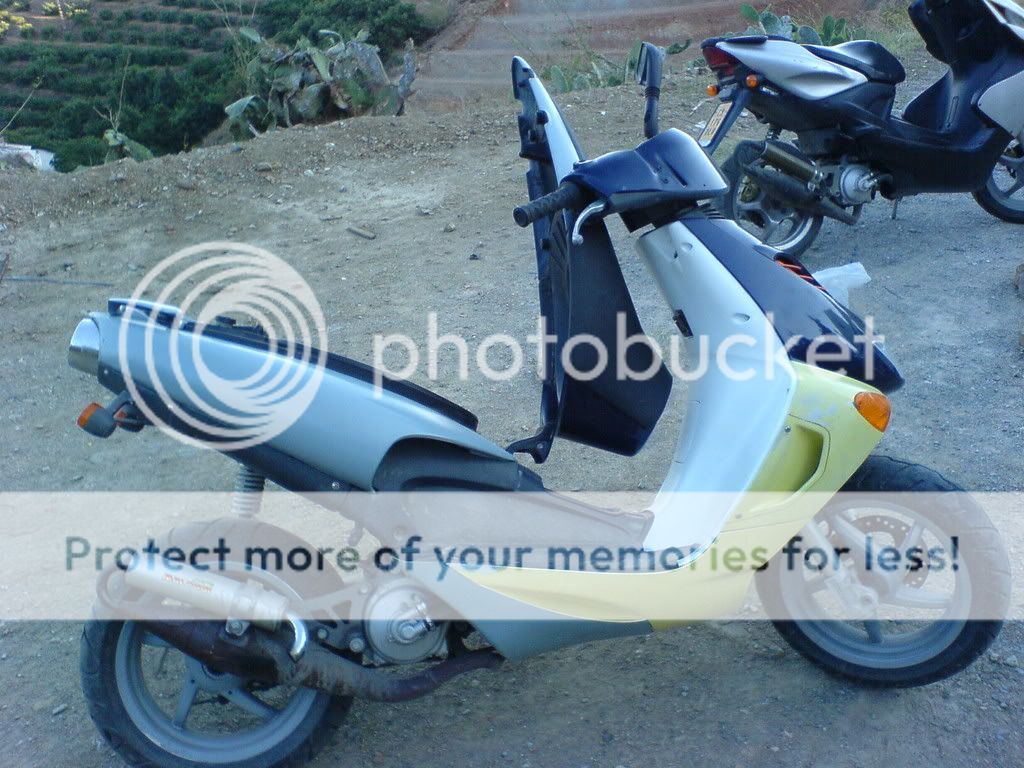
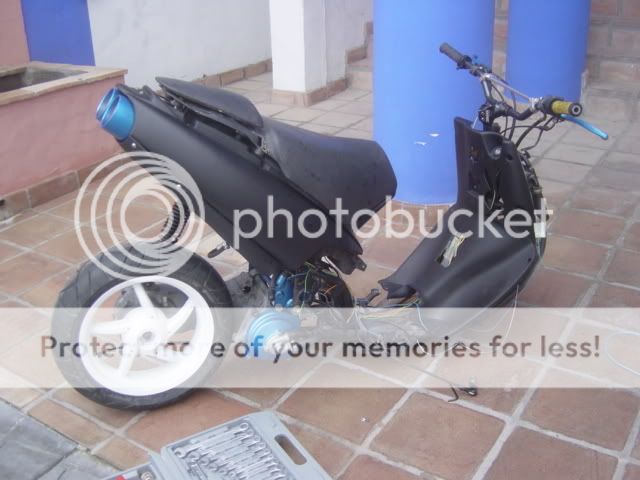
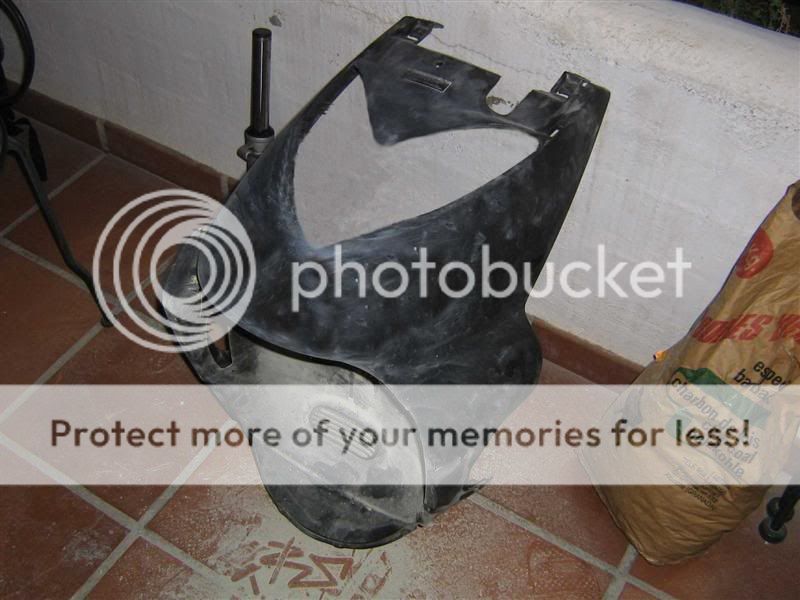
Heres how the bike started life as:

DSC00375.jpg


Then after that again changed many things :

DSC00136.jpg


Engine setup

Malossi MHR Team II 7t
Malossi MHR Over-range
Stage6 R/T 85mm
Stage6 Torque Control clutch
Malossi MHR Wing Bell
PVL digital
OKO 28mm
Stage6 V-force 3
Top Nardo
RS24 / Bitubo ZZN
Yasuni c21

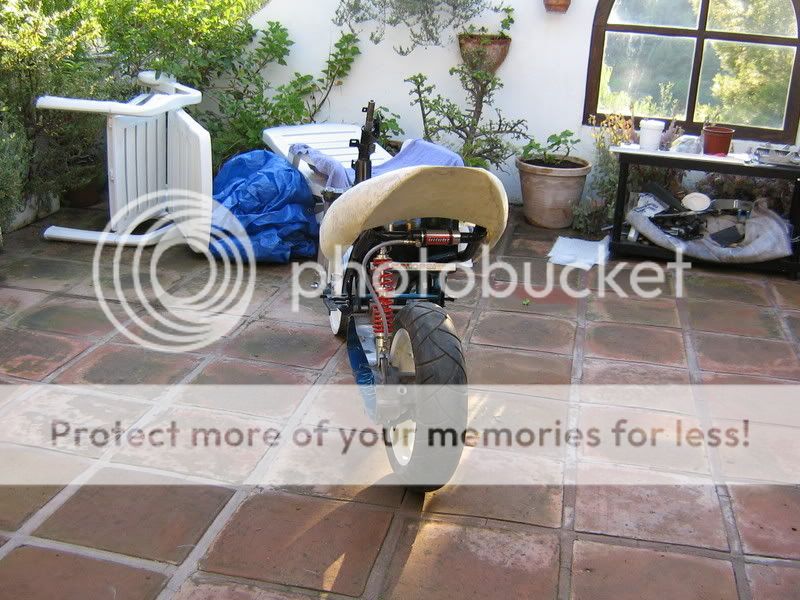
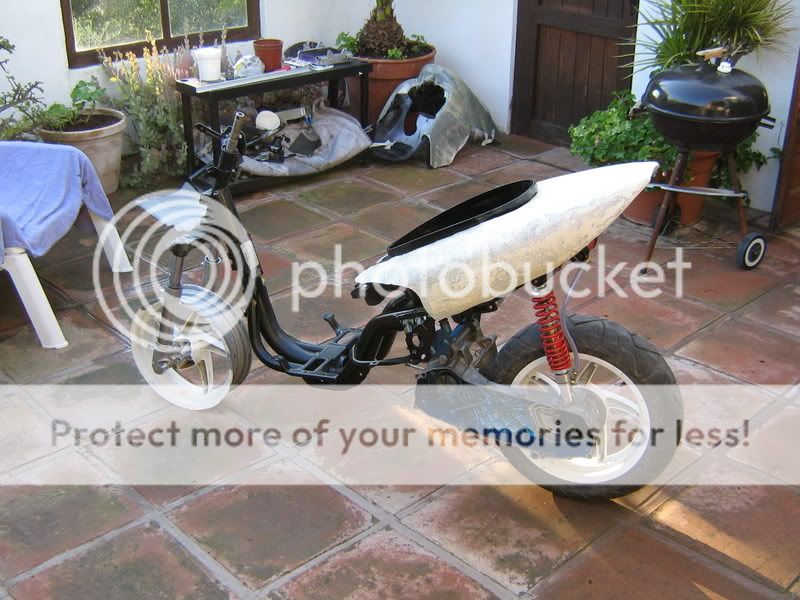
Here is a small preview of the progress:


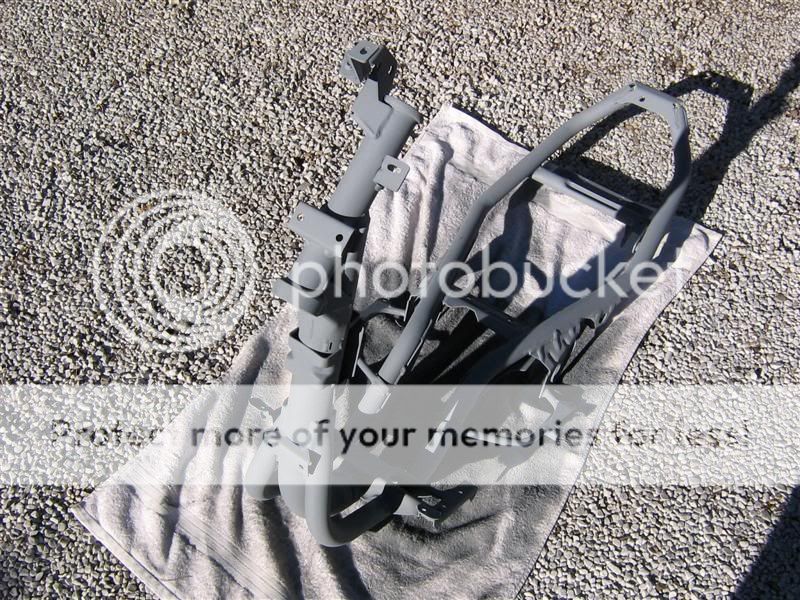
I started with the frame, Cutting un-neccesary parts from the frame. As you can see the frame is not in too bad condition, surprizing as its from 1997.

IMG_0254Medium.jpg


IMG_0253Medium.jpg


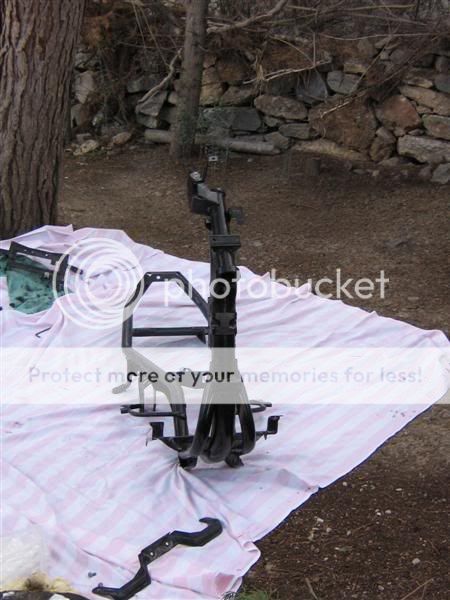
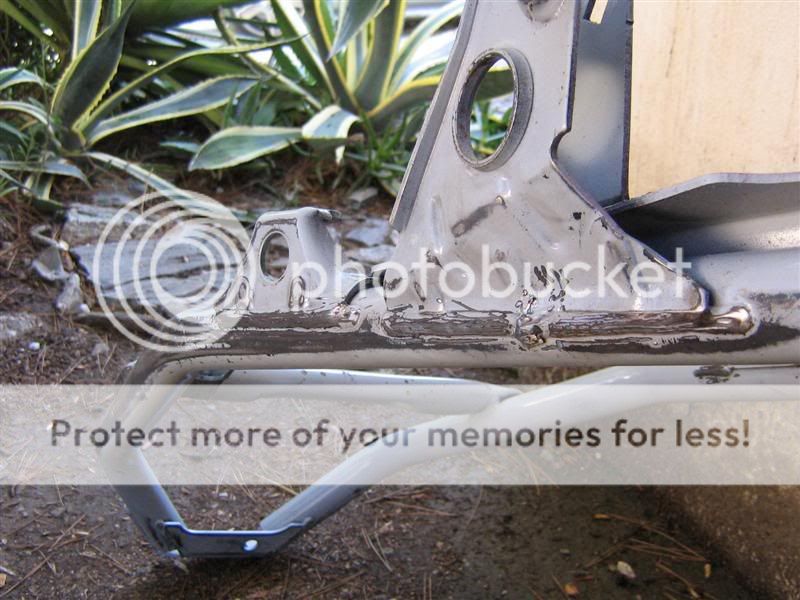
Here you can see that I spent some amount of time preparing each weld for the prevention of rust in the future, there was some small peices of rust, nothing serious but it all spreads, So better now than later.


IMG_0358Medium-1.jpg


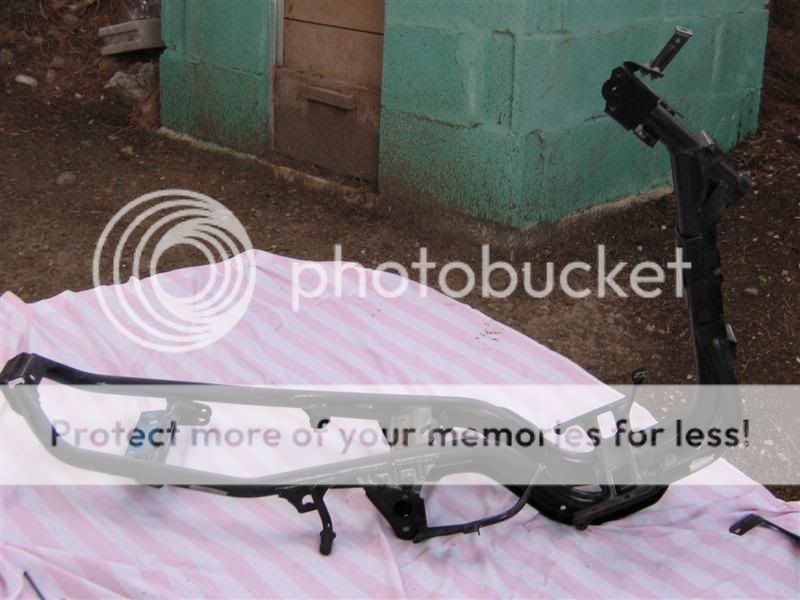
The frame is now complete and ready for the Anti-rust undercoat.


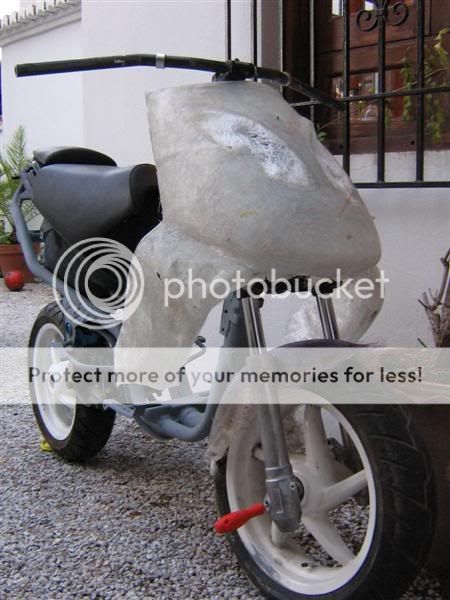
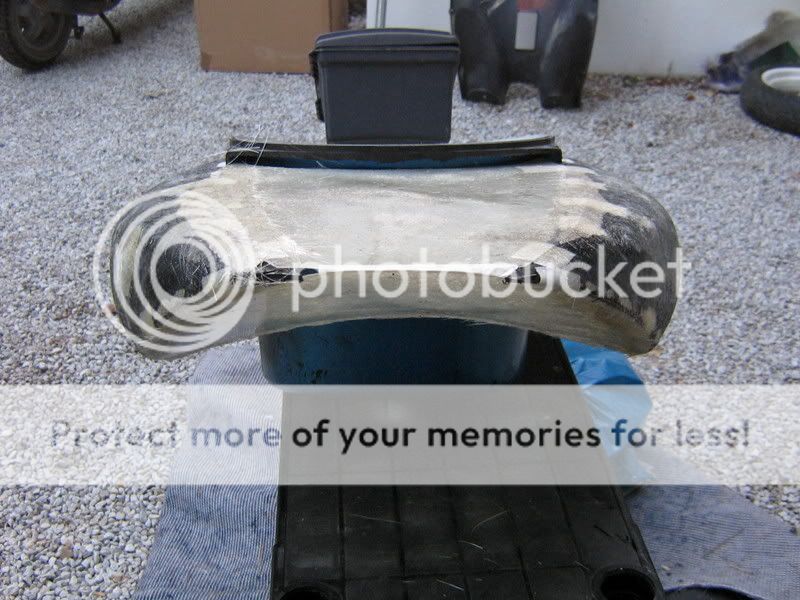
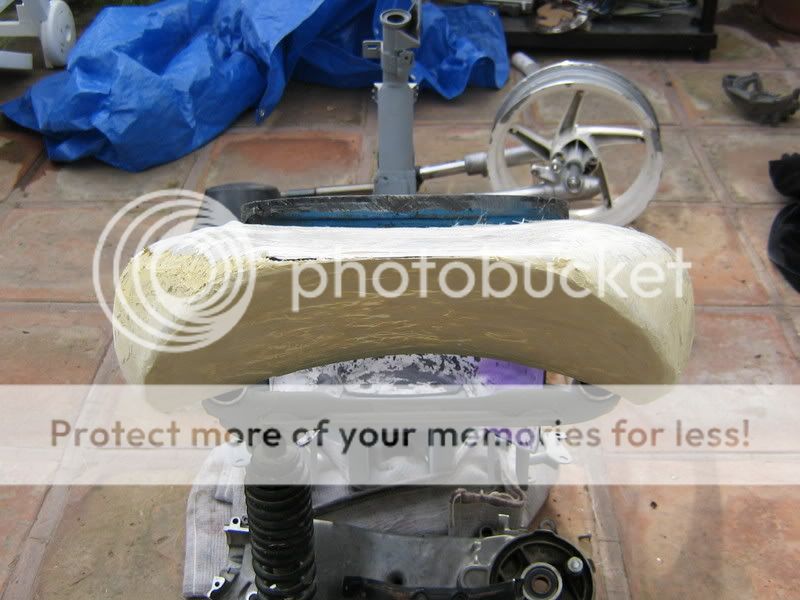
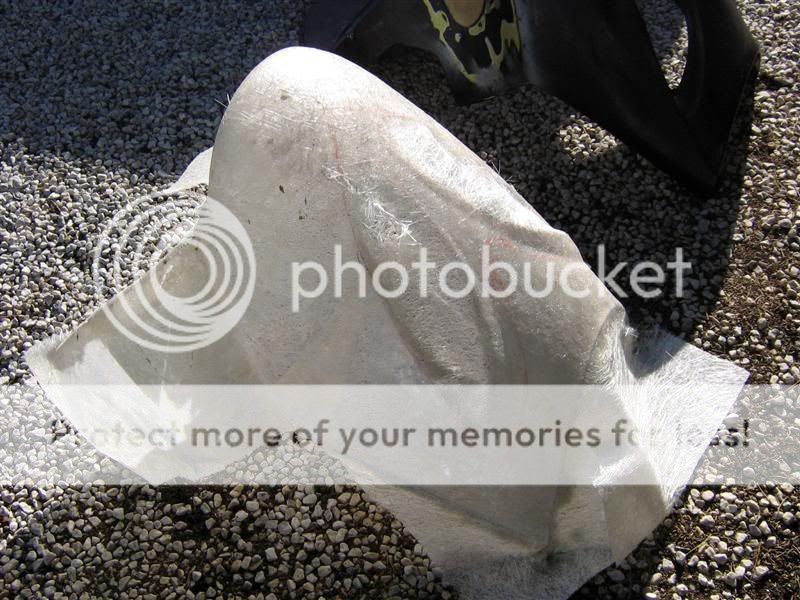
The start of the bodywork can begin. Here I spent some time fiberglassing behind the headlights, and the indicator holes. After some time of filling, rubbing back, filling, rubbing back and so on I got to this point.


IMG_0223Medium-1.jpg


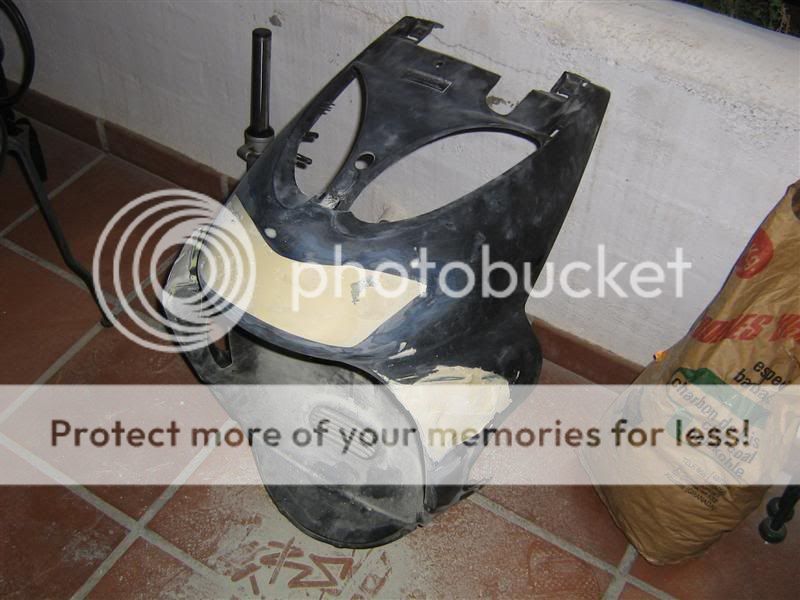
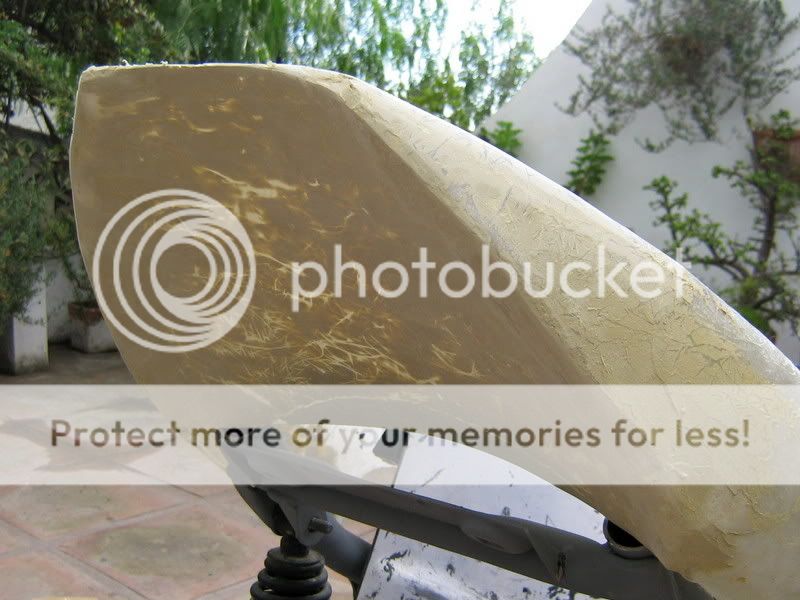
After some hours of getting it how I wanted, I finally had the shape of the mould that I wanted to take. Here we can see the fiberglass setting on the front:


IMG_0341Medium.jpg


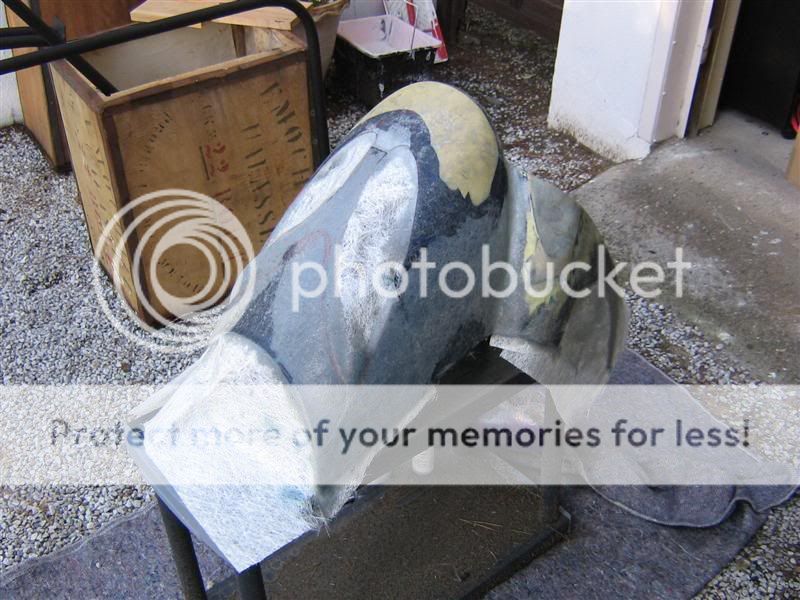
A close up of the front, you can see how it taking shape, had to work real fast! I wanted to keep the definition of the front, this was to be quite a challenge as the release agent would not allow anything to stick near it, constant attention needed to be paid. Going back over things 10 times to make sure nothing was lifting, nor out of place.


IMG_0344Medium.jpg


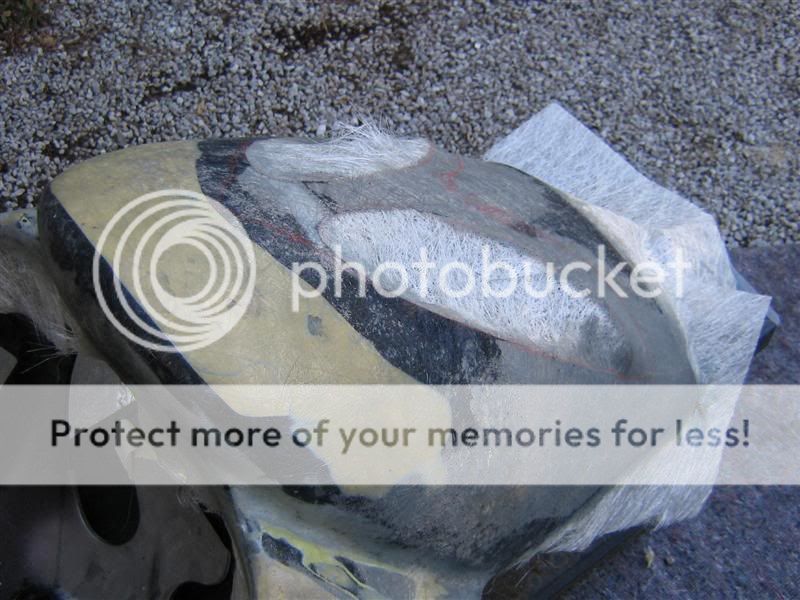
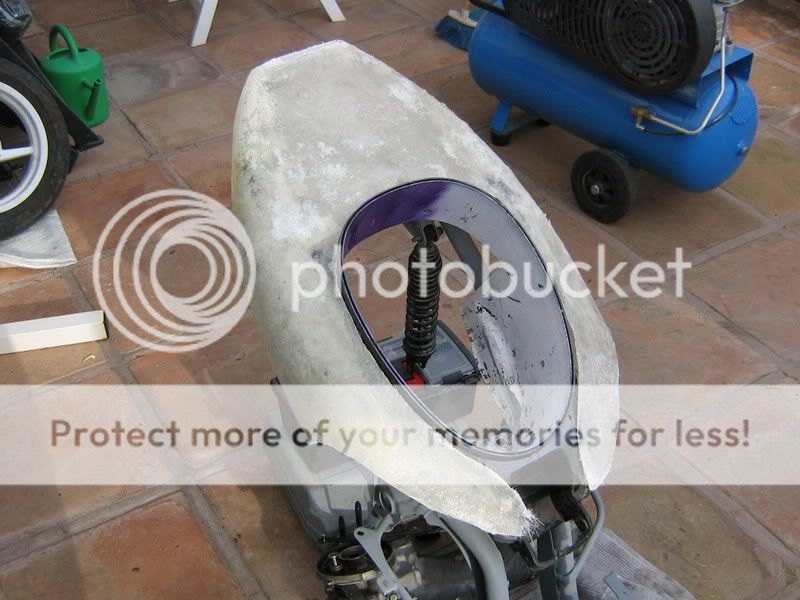
Overnight I let it set and waited to see what the first prototype would turn out like, you can see that the definition of the original sr front has came out perfectly. Exactly as planned.


IMG_0351Medium.jpg


IMG_0356Medium.jpg


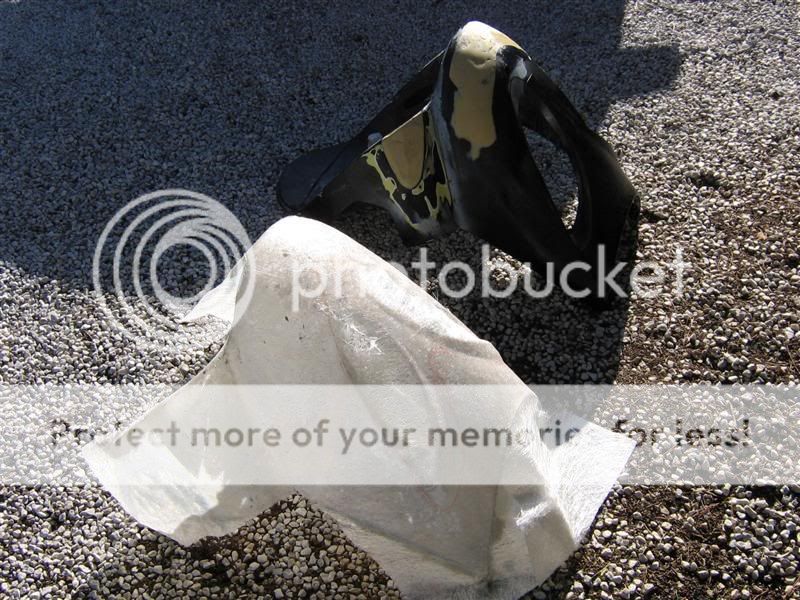
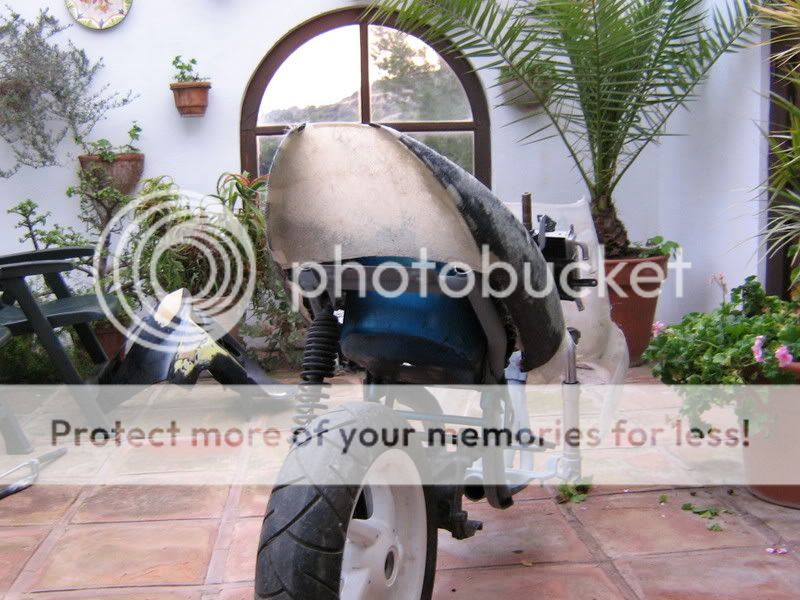
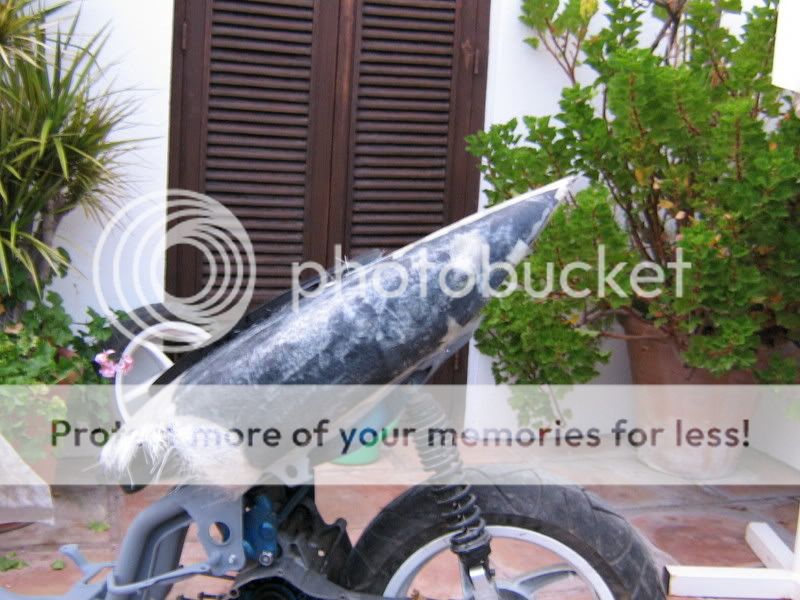
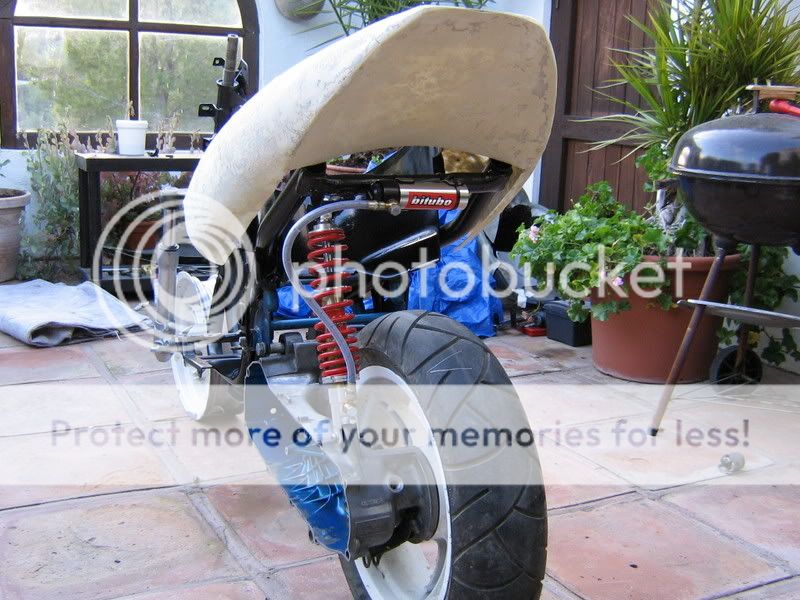
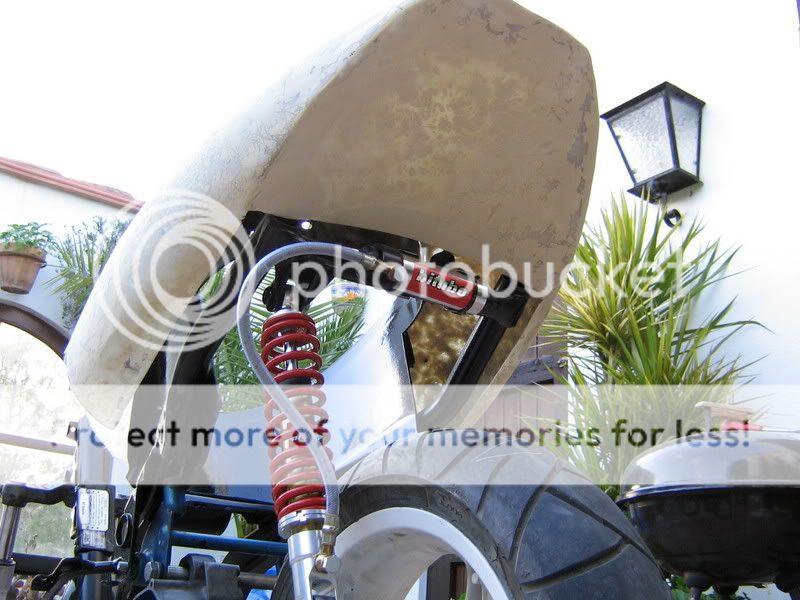
The same princible was used to achieve the front hugger:


IMG_0349Medium.jpg


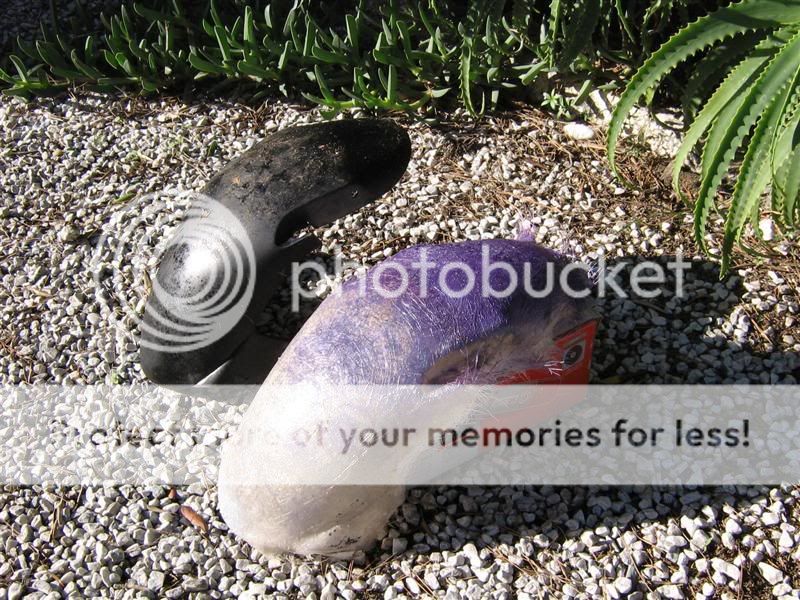
Obviously trimming is needed after, a second coat is still needed on the front fender, a second coat was added to the front hugger. The end product? Super solid, yet flexable lightweight hugger. The weight difference is excellent, I hope to save some kg's in the end. I will make a full weight comparison soon.

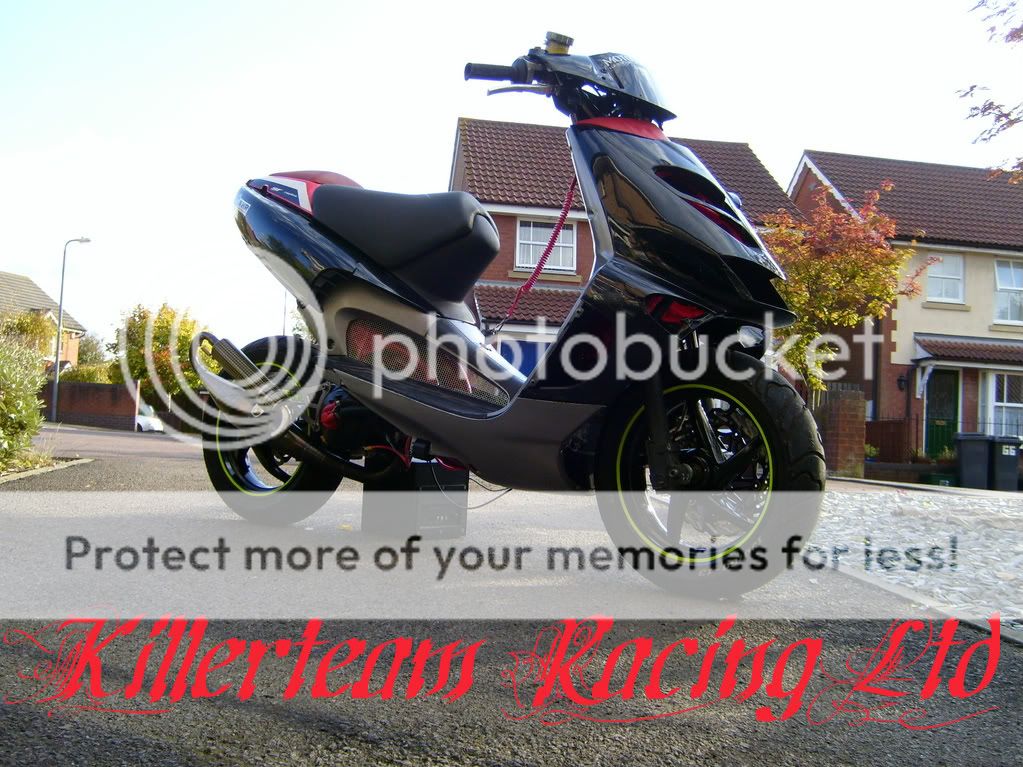
The finished project should look like something like this:


Frontmod-pcMedium.jpg


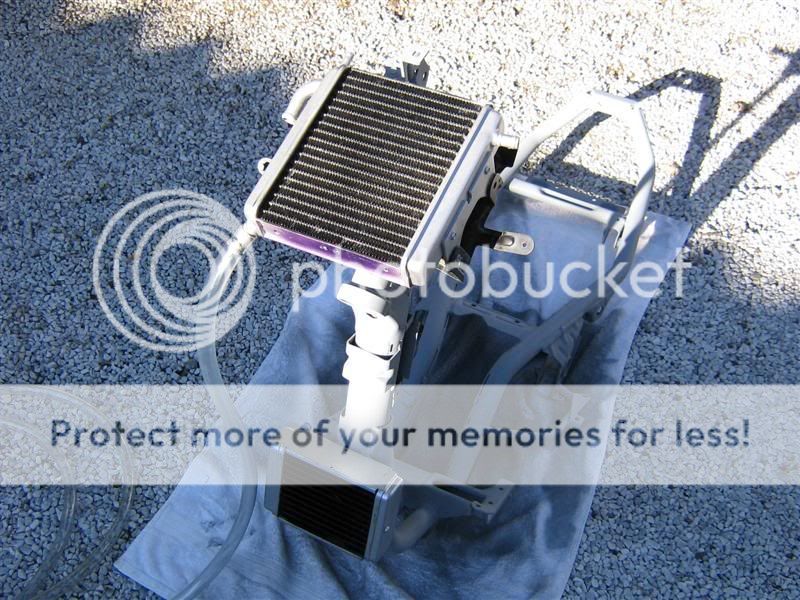
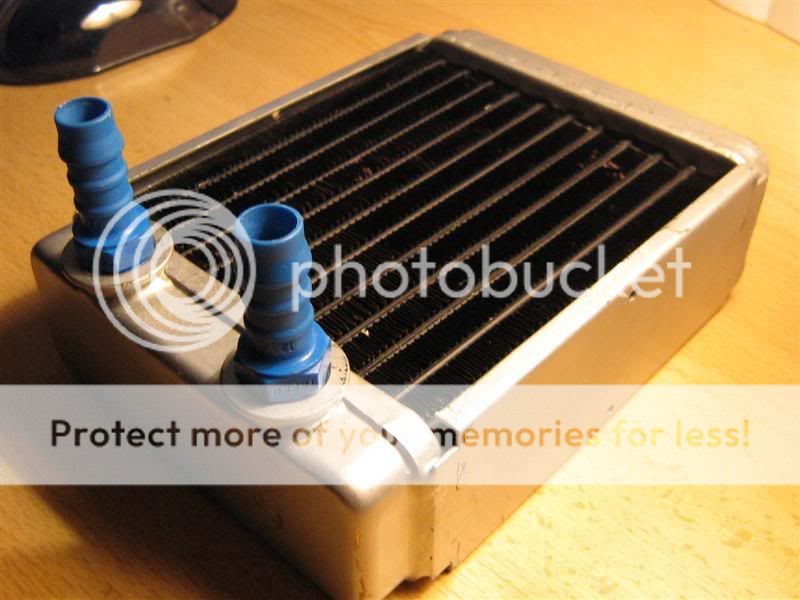
Obviously being in spain it can reach pretty high temps during the summer, when the bike will be used, so extra cooling is a nessecity. I had a full copper radiator hanging around, with some nice paint added we can see it came out quite well. Obviously being copper there is fantastic cooling properties. Small enough to fit behind the front wheel, yet not so large that its too bulky.

Origional radiator:


IMG_0240Medium.jpg


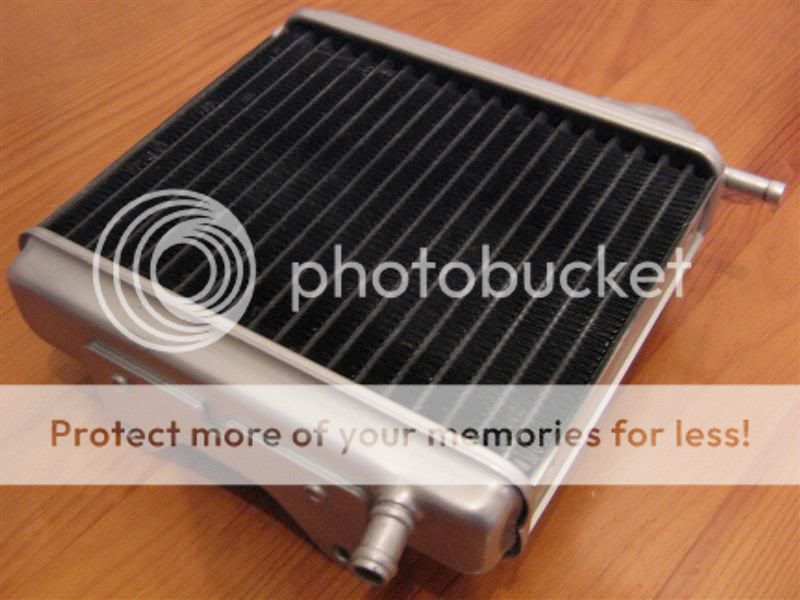
Thermochill pure copper radiator (excluding shrouds):


IMG_0381Medium.jpg


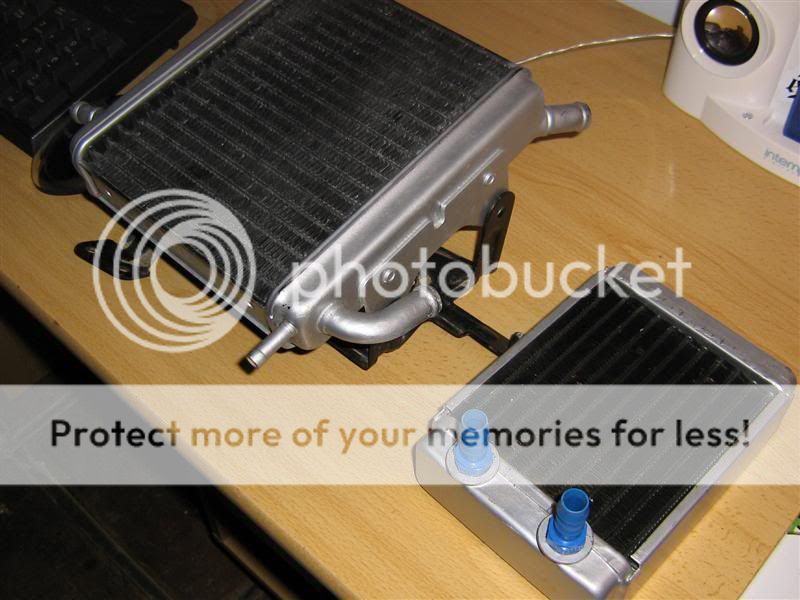
A comparison between the origional radiator and the Thermochill:


IMG_0377Medium.jpg


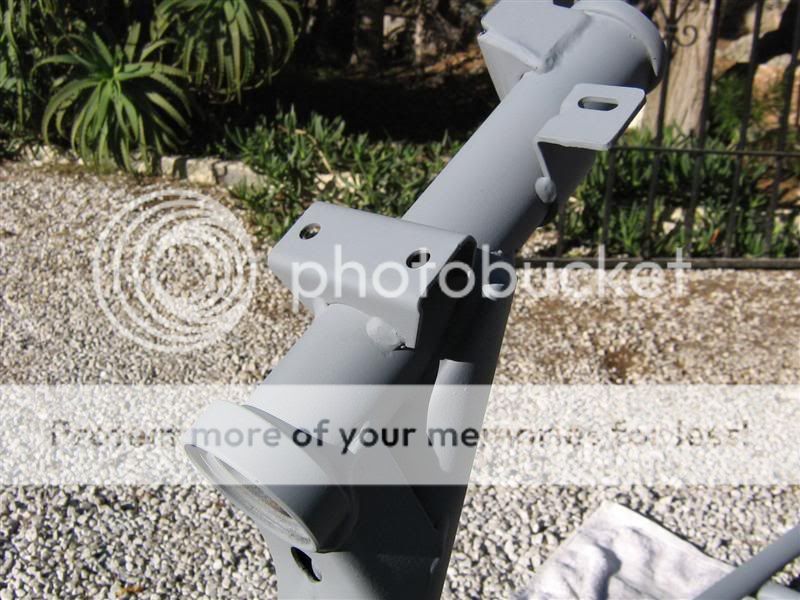
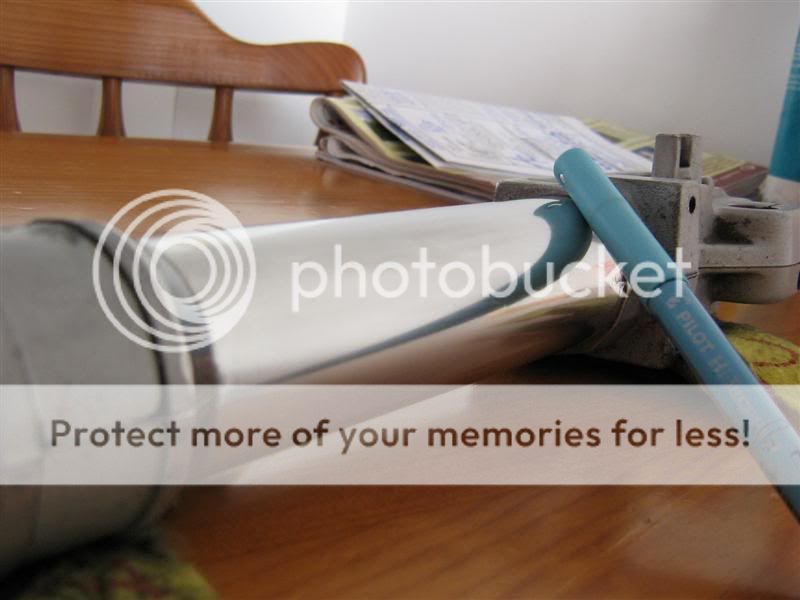
Took some time polishing one of the fork legs, still needs lots of work but you can see it is getting there:


IMG_0233Medium.jpg


I shall try and get some more pictures this weekend. The first coat of anti rust paint will be applied to the frame. My father found some great stuff in a local store, you can apply it through a paint gun so is suited perfectly. Not so cheap but top quality stuff. Will be building some more moulds this weekend also.
 
Last edited:
Advertisement - register to remove this

how did you then remove the fiberglass from the front panel to ge the shape you wanted?
i mean i thought the fiberglass would just glue to the bodywork and then never come off
but its pretty cool to have customer made bodywork:D
respect!!
 
TrueOverrev: They are called thermochill radiators, www.thermochill.com, basically 90% pure copper, the matrix, fins, and internals. The shrouds are made from steel and the expansion from brass, polishes up well =P They arnt cheap though, I think it was roughly €100, (Bought it from Uk)

Eoin: I just used a releasing agent to seperate the parts, sounds simple but of course when it comes to it, nothing is ever simple. Took a while and some patiance to get it off without breaking the thin fiberglass mold. Worth it in the end though. I may possibly be making more of these molds in the future.
 
yeah yeah Liam...u will race it hopefully in cordoba or jerez XD
That s a fact but u won t race alone right?I think its time to present them our small team or what do u think? well its time to show my project too, i will do it later....

I love ur fiberglass work...:) keep going liam cuz we don t have that much time u know....and keep working hard so we can order next week...take to ya later...
 
@butch_182 thanks men! fortunately they have a available importer here in the US. i was checking the website earlier. I might end up buying the PA160. looks very good, compact and small.

thanks for the info again
 
Update:

Been spending time in between work fiberglassing the parts. The main parts are now replicated, a few layers of fiberglass remain then they will be ready to fit.


The Anti-rust paint sprayed and complete:

IMG_0530Medium.jpg


IMG_0531Medium.jpg


Radiators in place:

IMG_0533Medium.jpg


The bike standing for the very first time! (With aerox forks) You get a good idea of how it looks (ignore the handlebars/helecopter blades =P :

IMG_0543Medium.jpg


Fiberglass setting on mould:

IMG_0583.jpg


Test fitting:

Undertray.jpg


Backleft.jpg
 
can jou tell me

how do jou put yamaha fornt forks on aprilia sr??
or jou just put yamaha forks foot on aprilia sr forks??

and how do jou mean or know that is will be good to drive??

I have by sr old paioli forks also is very good
 
Update:

Not a big update but just to show progress again.
I had some troubles with some differnt resin that i bought for the fiberglass, ended up being very "gelly" and very hard to work with. Anyway heres the pics:

Thin layer of filler over areas:

IMG_0604.jpg


Starting to take the final shape:

IMG_0605.jpg


Edges cut and finished:

IMG_0606.jpg


Final pics of the day (half a days sanding, frame painted...):

IMG_0610-1.jpg


Undertray:

IMG_0611-1.jpg


Thnx for comments

Harko, Required a bit of modding of the forks, the aerox wheel bearings are 10mm, where as aprilia are 12mm.


Liam :)
 
Hmm, its looks nice. But i think we get a better vieuw if you take some picture from 2m away (or something like that)

Good luck. pz. wesley
 
You're really doing a very nice job here! With all the bodywork customizing, it's very good looking!

But how are you going to solve the problem, that you dont have any fittingpoints in the modyfied bodywork? How are you going to mount them?

My compliments.:*
 
The seat will be standard for race use, but there will also be a custom made fiberglass / Carbon fiber seat made for show. Just really want the weight kept minimul for racing. Also all of the body parts have each mounting point custom made, Most you wont see.

Just took a couple more pics from a distance to get an idea of how its looking from a distance:

IMG_0619.jpg


IMG_0618.jpg


Thanks for comments again, Work continues after xmas, Final parts in jan hopefully.

Merry Christmas to everyone !
 
Back
Top